How to deploy a static Next.js website on Github Pages

Introduction
Using Next.js version 12.1.6
Update: Since July 27th, this procedure can be done completely by github without a third party solution.
I've wanted to build a cool, or at least presentable, Portfolio-Blog for a while now. Since I've been working a lot with Next.js lately, I figured it would be a great idea to build this portfolio using Next.js instead of some plain html/css/js. And since I didn't want to pay for hosting just right now, Github Pages should do the trick.
The original idea was to next build and next export the project and then manually upload the generated files to a repository. Since this didn't work the way I was thinking, I searched and found an even better solution. This involves using Github Actions and a third party CI/CD solution available at Github Marketplace. The one I used is "Deploy to Github Pages".
1. Github Actions
-
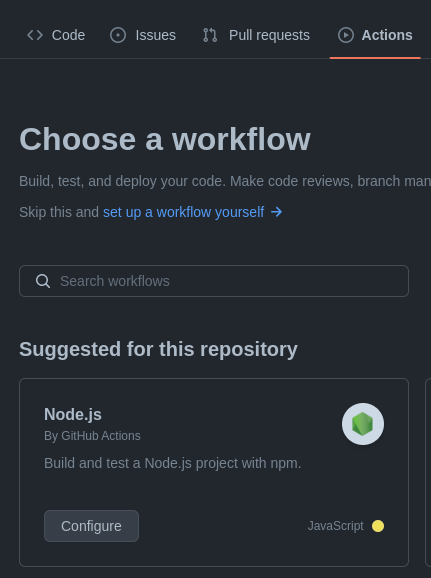
In your repository go to actions and add a workflow by choosing Node.js:
-
You'll get a node.js.yml file like the one bellow:
# This workflow will do a clean installation of node dependencies, cache/restore them, build the source code and run tests across different versions of node # For more information see: https://help.github.com/actions/language-and-framework-guides/using-nodejs-with-github-actions name: Node.js CI on: push: branches: ['main'] pull_request: branches: ['main'] jobs: build: runs-on: ubuntu-latest strategy: matrix: node-version: [12.x, 14.x, 16.x] # See supported Node.js release schedule at https://nodejs.org/en/about/releases/ steps: - uses: actions/checkout@v3 - name: Use Node.js ${{ matrix.node-version }} uses: actions/setup-node@v3 with: node-version: ${{ matrix.node-version }} cache: 'npm' - run: npm ci - run: npm run build --if-present - run: npm test -
Select the node version e.g. node-version: [16.x] then start replacing at - run: npm ci like the code below. Since I'm using yarn I also changed the respective npm commands. For example: run: yarn install --frozen-lockfile is equivalent to run: npm ci.
We also need to bypass Jekyll since it doesn't recognize folders that start with an underscore, like "_next". More about bypassing Jekyll on Github Github Blog and Stackoverflow.
The section starting with - name: Deploy is the "Deploy to Github Pages".
- run: npm install -g yarn # Installs yarn. - run: yarn install --frozen-lockfile # Performs a clean install. - run: yarn build && export # Generates and exports files into "out" folder. - run: touch ./out/.nojekyll # This bypasses Github's Jekyll since it doesn't recognize folders that start with an underscore, like "_next". - name: Deploy uses: JamesIves/github-pages-deploy-action@v4.3.3 with: branch: gh-pages # The branch the action should deploy to. folder: out # The folder the action should deploy. -
The content of the folder out is then deployed to the gh-pages branch, which is then used by Github Pages.
2. Next.js config
- Custom image loader & basePath
-
In the Next.js application, we need to change the next.config.js file. We need to add a custom image loader since the standard one doesn't support next export which you can see in the error message bellow. More about built-in image loaders official doc. This was a trial and error and the one that worked for me was the "akamai".
Error message:
Error: Image Optimization using Next.js' default loader is not compatible with `next export`.
  Possible solutions:
    - Use `next start` to run a server, which includes the Image Optimization API.
    - Use any provider which supports Image Optimization (like Vercel).
    - Configure a third-party loader in `next.config.js`.
    - Use the `loader` prop for `next/image`.
  Read more: https://nextjs.org/docs/messages/export-image-api
next.config.js:
/** @type {import('next').NextConfig} */ const isProd = process.env.NODE_ENV === 'production'; const nextConfig = { reactStrictMode: true, images: { loader: 'akamai', path: isProd ? 'https://<your github account>.github.io/' : '', }, basePath: '/<your github repo>', }; module.exports = nextConfig; -
As seen above, you also need to define a basePath. The reason behind it is that images/assets will not load because your repository name will be part of the URL. There is another option called assetPrefix but it is discouraged. By the way you can also use a isProduction variable like this:
next.config.js:
const isProd = process.env.NODE_ENV === 'production';
//and then something like this ternary :
basePath: isProd ? '/<your github repo>' : '',
- Changing Image src
-
Replace each image src as described in the official docs
<Image src='/images/profile-pic.png' width={360} height={360} alt='profile-pic' /><Image src='/<your github repo>/images/profile-pic.png' width={360} height={360} alt='profile-pic' />
Thanks for following along and I hope it helps you too!